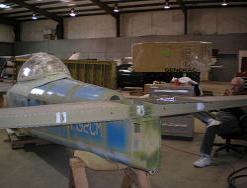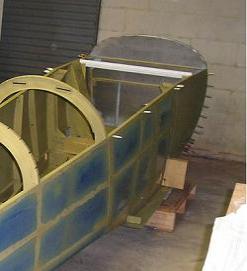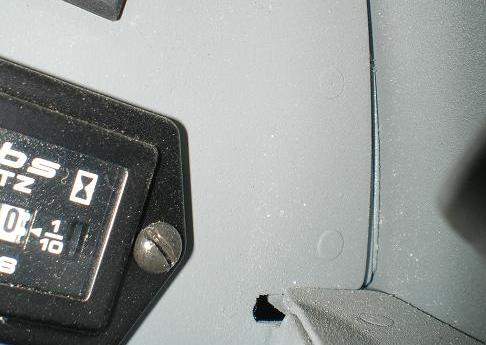

Fuselage SkinsMove slowly through the process of fitting and drilling the skins. Follow the directions exactly; don’t skip ahead because you have that drill bit in the drill. If the directions say to swap bits from a #40 to a #30 to drill one hole, then go back to a #40 to drill more, do it. Since there is no jig holding everything aligned, follow the instructions to ensure a true fuselage when you are finished. Don’t skimp on the clecos. Use them in every hole you can. The more you use the more sturdy and steady your fuselage is. This results again in a truer finished product. I had a large coffee can with silver and one with copper clecos that I drug around with me. This gave me a steady supply when I needed them, and also a convenient place to put the clecos as I removed them for drilling. Make sure the holes align as you initially cleco things together. Stick a small punch into the hole and wiggle it around a little to help pull the parts together and line up the holes if needed. It is possible to completely cleco a part on with it not lined up properly. If the interior parts don’t line up with the holes in the fuselage skins, check your fluting and straightening the parts to realign the holes. You don’t want the parts under constant stress, trying to pull themselves apart, only being held together by the rivets. They should sit naturally together and the rivets just hold them in place. Mark everything not just for left/right, but forward/aft or up/down as required. A lot of the parts look like they are reversible. It is important that they go back the same way that you drilled them to keep everything aligned. Because everything is match drilled to start with, I don’t think you will have an issue with edge distance anywhere. But if you have drilled the hole, and find you don’t have the required edge distance, you can still fix it. See Edge Distance. Dimpling and CountersinkingA hand held pneumatic squeezer made quick work of dimpling almost everything except the holes in the middle of the fuselage skins where it wouldn’t reach. For those I used the table mounted dimpling tool. Metal that is .04” or thicker doesn’t dimple well, will need to be countersink the holes in them. If countersinking is new, check out my thoughts here. Supports I used a crate with some foam padding under the F-804 center rib section when doing all the interior work on my fuselage. I then used a small sawhorse with another pad under the tail. This set the fuselage at the right height to allow me to comfortably bend over the top longeron and reach the interior floor.   Riveting the Skins Before you rivet, make sure all the flanges of the ribs match up nicely with the skin. You don’t want them angled, or with any space. If they are not aligned, the thinner skin will move to meet the thicker rib material, and result in a dimple in the skin when viewed from the outside. Have you ever seen a skin that has a wave rolling over the row of rivets, where it is higher between rivets, and lower at each rivet? I found this most prevalent on the curves on the outsides of the bottom skins, and on almost all of the turtle deck. I disassembled, bent, and reassembled several times to get everything pretty. There were a couple of spots where bending just wasn’t going to work, so I used a shim between the rib and the skin to keep the skin’s pretty shape.
Before you rivet the F-851 skins to the assembly, check your rudder pedal installation. If you are installing the ground adjustable rudder pedals, you will want to install the attachment angles before you rivet on the F-851L&R. Once the fuselage skins are riveted on, you can not get to the backside of the rivets for the rudder brackets to buck them; you will have to use LP-4-3 blind rivets. If you bought the regular kit, you will need to fit the landing gear before you finish with the forward bottom skins.
Return from Fuselage Skins to Fuselage Return from Fuselage Skins to Kit Plane Advice Home |
