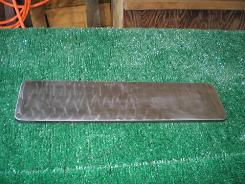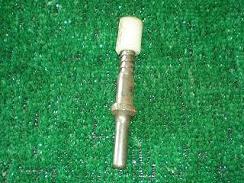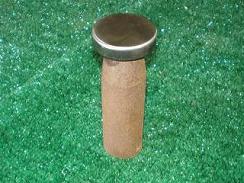

RivetingWhen building an aircraft of metal parts, good riveting is essential to the function and appearance of your project. These tips will really pay off in saved time, effort, and frustration. Clamp it Down!I have found that the key to good results is ensuring the parts don’t move while I’m bucking, so clamp them down. You may think that wing skeleton is so heavy, there is no way it will move. Don’t fall for it! Put a clamp or two on it and make sure it doesn’t move. Countersunk (AN426)I get the smoothest finished heads by using a backriveting plate. This is a heavy piece of metal that you lay flat on the bench. You put the countersunk head against the plate, and hit the shop head with a special backriveting set. This works well for the stiffeners on most of the moving surfaces.  Back rivet plate  Back rivet set
Universal Head (AN470) There is really only one way to buck these. You have to use the right sized set. The most important thing is to keep the set and gun parallel to the surface on which you are working. If it is off, you will get a smiley face on the skin, or ruin the rivet and have to drill it out. If you can’t easily reach both sides, get someone to help. Hand SqueezingWhat a time saver! I squeeze every chance I get. By using a pneumatic squeezer and the adjustable set holder (see Tools), I can finish the work a lot quicker than bucking. The shape of the parts will determine from which side you will squeeze. Just make sure you have pressure on the factory head before the squeezing pressure starts. Otherwise the rivet may back out and then get squished. It will be ruined, and you will have to drill it out.
Return from Riveting to Tools and Tips Return from Riveting to Kit Plane Advice Home |
 If
you can’t use the plate, then next best result
comes from
using a
backriveting bar. This is a heavy, wide bucking bar that you
place
against the flat, factory head. You again drive the shop head
with the
same special set. This works well for the top
skins of the
wings. Do the top skins first, then buck the bottom
skins. This
way, the prettier side is up and shows more. You can also use
this method for much
of the fuselage skins.