

Ailerons and Flaps
This advice for building your ailerons and flaps is specific to the Vans RV-8. However, it could also prove valuable to builders of other Vans kits or other aluminum kitplanes. Ailerons The first few steps are just like those for the elevators. You will match drill and backrivet the stiffeners. Then bend the trailing edge until the skin edges just touch the spar. After the skeleton is assembled, you match drill the skins. The directions would have you do this sitting on the bench. Here is the first time to use the jig. By keeping everything lined up when you match drill, you limit the error you may build into the part. There are two good ways to prime the inside of the counterbalance. First, you can pour or spray a little primer into one end of the tube while you rotate the tube to ensure complete coverage. The other method is to spray primer in one end while at the same time squirting low-pressure air in the other. The air will cause the primer to get mixed around in the tube instead of spraying in a steady pattern. Whichever you do, make sure you prime the inside; you really don’t want it to rot away from within.
Drawing 13A shows the aileron travel stop on the W-413 assembly. Don’t worry about this yet, you will install the stop after the wings are hung and the ailerons rigged. I'll cover that in Hanging and Rigging the Wings. FlapsFinally Vans uses the Jig to hold the part as it is assembled. They call it a cradle, but it is the same thing I have been talking about all along. Even though everything is match drilled, the jig helps keep it all aligned during assembly. Make sure the centers of the two wooden V-blocks are aligned with each other.
   I
did all the fitting and attaching
with the wings still in the jig.
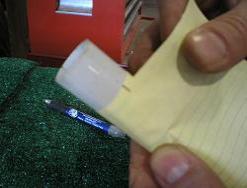
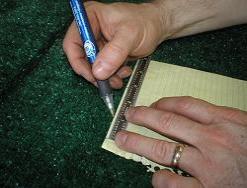
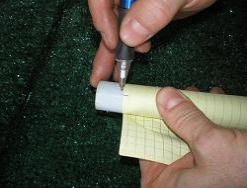
You can eyeball the holes for the rivets on the ends of the W-816 and W-818 pushrods, or if you want them perfect, you can measure around with a piece of paper. Wrap a piece of scrap paper around the rod and mark where the end overlaps. This will give you the circumference of the rod. Now divide the measurement by four. Make three more marks on your paper each spaced ¼ of the circumference from the first mark, and you now have four equally spaced marks for your rivets. Since these rivets don’t pass all the way through the rod, you can get away with hand drilling. You can still use the drill press if you want to, that much accuracy just isn’t required here. 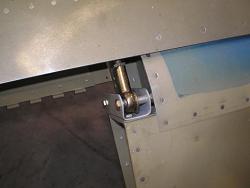 The
attachment hardware may have
changed slightly since I
built my wing. I
had to make spacers and
use washers to get a good fit for the flap to W-413, flap to W-414, and
flap to
W-818. After you
make the shims and
figure out the correct washers, make a little drawing showing
how they
all go
together and clearly mark which spacer goes where.
It will be a while before you get to finally
hang
the everything back on the wings, and you may not remember how
everything fits. The
attachment hardware may have
changed slightly since I
built my wing. I
had to make spacers and
use washers to get a good fit for the flap to W-413, flap to W-414, and
flap to
W-818. After you
make the shims and
figure out the correct washers, make a little drawing showing
how they
all go
together and clearly mark which spacer goes where.
It will be a while before you get to finally
hang
the everything back on the wings, and you may not remember how
everything fits.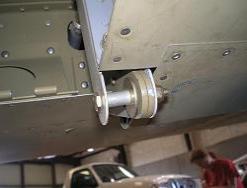 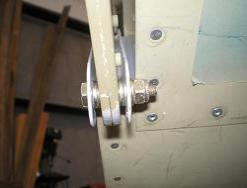 Don’t worry about getting the W-818 the exact right length here. You will do the final adjustments when you rig the ailerons. I'll cover that in Hanging and Rigging the Wings. 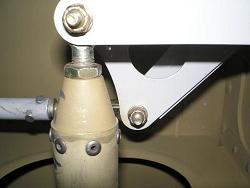
Return from Ailerons and Flaps to Wing Kit Return from Ailerons and Flaps to Kit Plane Advice Home |
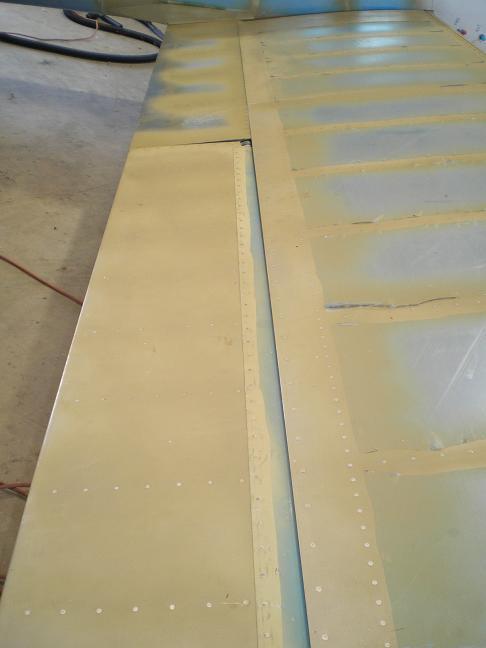
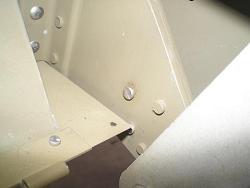 Final
riveting is the second time to
use the jig.
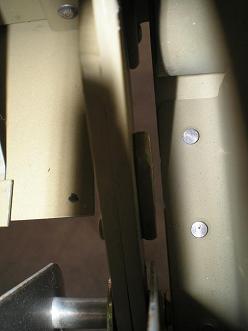 Everything
will remain true
if you finish the assembly in the jig.