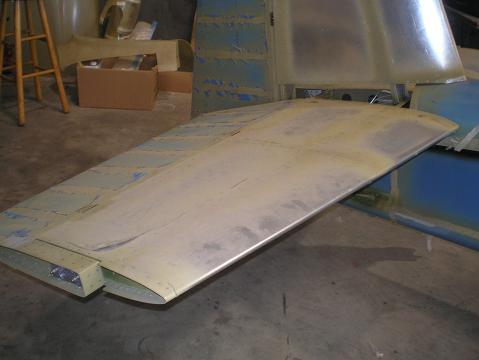

Horizontal Stabilizer
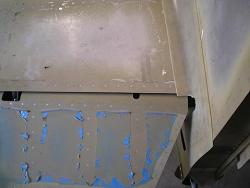
The Rear Spar You start the horizontal stabilizer by putting together the rear spar. Since it is all match drilled now, you can accomplish this on the bench. You can put clecos in every other hole and final drill the holes that are open. Then swap all the clecos and drill the remaining holes. In the old days, we put the HS-603PP rear spar and the HS-609PP rear spar reinforcement bars flat on the top of the cross member of the jig and drilled straight through into the wood. Then put a cleco into the hole and into the wood. This held the spar and reinforcement tight to the jig, making the rest of the holes easy to drill. All of the rear spar fitting can be done here, before everything is removed for edge dressing and priming. Riveting It All TogetherIf you haven’t read my Tips on Riveting, take some time to do it before you start—it may save you some heartache and help you get better results. Make sure you rivet parts together in the order the plans tell you to. Some of the tight parts are riveted in a very specific order, or you can’t get the gun and bar in to finish. Read twice and rivet once.
Repeat all this for the other side. Now remove the clamps and cleco on the rear spar. If you are going to squeeze the remaining rivets, you don’t need to clamp, just get after it. If you are going to buck the rear spar, cleco the HS-404, HS-405 and HS-706 to the skin, and clamp the assembly back to the bench. Use wood clamps or clamps with wood blocks to keep from marring the skin, and make sure you clamp where a spar or rib supports the skin. Clamp the horizontal stabilizer so that the end is hanging off the bench. This will let you rivet all the way around the HS-706. Re-clamp so the aft edge overhangs the bench and rivet the rear spar. Repeat for the HS-404 and HS-405. Mark the horizontal stabilizer to show which side is the top, and which is the bottom. I didn’t, and several years, two moves, and a hurricane later when I was ready to bolt it to the fuselage, I had to spend some time digging out the old plans and rereading to figure it out. (See Transporting Your Unfinished Project for details.) Mark it now, and save the pain later. Go on to Vertical Stabilizer.
Return from Horizontal Stabilizer to Tail Kit Return from Horizontal Stabilizer to Kit Plane Advice Home |

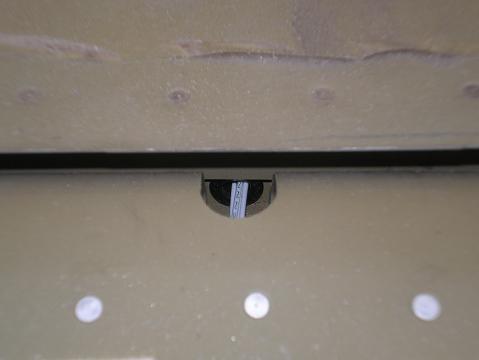
 If
you are installing electric trim,
before you rivet the
skeleton together, think about your wiring.