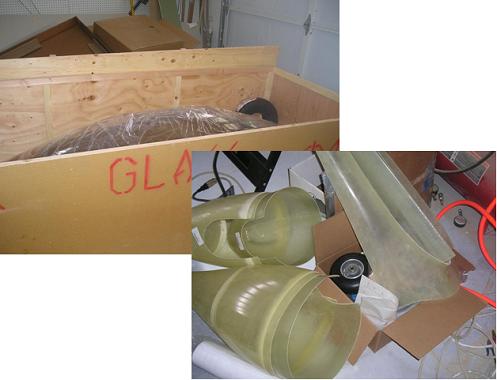
Finishing Kit

I
think the real reason Vans made the Finishing Kit is the big bubble
canopy. If they had shipped the canopy with the fuselage kit,
I’m sure mine would have been scratched or damaged some kind of way
before I was ready to install it. It was a good idea to make
it a separate kit and send it at the end. There are of course
a few other things in the kit, like brakes, wheels, and a lot
of fiberglass.
Because I am not installing an O-360
engine, I will not be using the standard cowling or engine
mount. Vans gave me a reduced price on the finishing kit for
them. Of course they let me know that if I later wanted to
order them separately, the price would be higher than the
reduction. Apparently they give a kit discount on the price
of parts when they lump it all together in the kit.
In
this section, we will be looking at installing the canopy in a
RV-8. The techniques will still be useful to you if you are
building something else. Working with Plexiglas and
fiberglass doesn’t change with the type of aircraft it is going
in. The ideas and tips can still be applied to your
project. I divided the discussion into several pages to make
it easier to navigate directly to the part you want to see.
First you fit
the canopy frame,
then the plexiglas
bubble, fit the
skirt,
and
finally install
the windshield
and molding strip.
I
will also go through installing the
axles
and wheel, and discuss why I
haven’t installed the wheel
fairings
yet. And here's how I worked the fiberglass cowling as I was finishing up the engine.
|


