

Elevators
You start building the elevators by cutting the stiffeners. Do this just like you did for the rudder. Don’t forget to install the platenuts on the E-615PP before you rivet it to the skin. You can install them later, but it is a lot easier to do it before. Again, I backriveted all the stiffeners and the E-615PP to the skins, giving me a smooth finish. Finish preparing the skin by bending the trailing edge until the skin matches up snug to the E-702 spar. As you rivet the skeleton and the skin, make sure you clamp the parts tight to the bench. You can squeeze all the rivets to attach the skin to the skeleton, removing the need to clamp the assembly. Prep for Trim
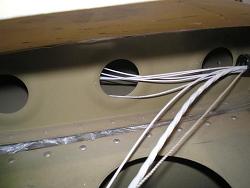 The trim tab really isn’t that hard to make. Spend the time to make the blocks the right size and shape before trying to bend—a little more time spent here is well worth the result. When bending, go slow. Work your way back and forth across the tab. Don’t try to bend one end of the tab all the way down before starting on the other side. As an alternative, you can use another block of wood across the entire side tab. Then hit this piece of wood with the hammer. This will apply the bending force evenly across the tab. 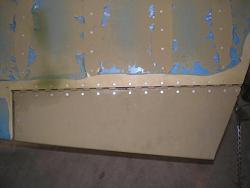 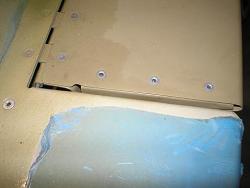 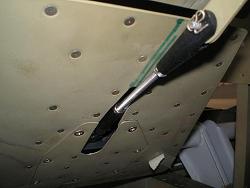 Bend the leading edges and you are almost finished. Matching Everything Up
Return from Elevators to Tail Kit Return from Elevators to Kit Plane Advice Home |
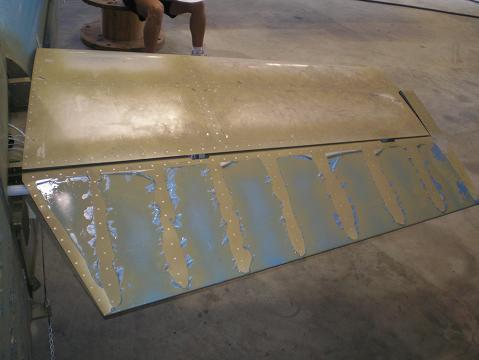
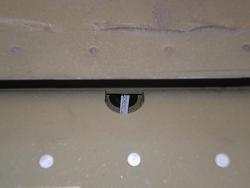 Before
you rivet the
left skeleton together, drill the required holes for the trim
system
you are installing.
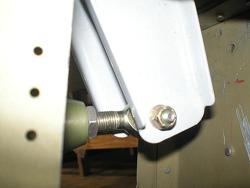 The
last thing to do is match them up
to the horizontal stab,
and drill the holes in the horns.
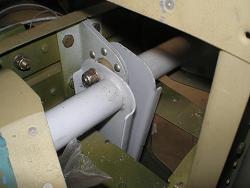 This
gets you a good pilot hole that
still needs to be
enlarged to final size.