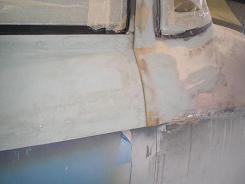

Canopy Skirt
I had several issues while fitting the fiberglass canopy skirt. I don’t want to give a step by step process here, but rather want to discuss those issues, and how I dealt with them. You could encounter these same issues installing your skirt. It doesn’t really matter which airplane you are building, the pre-formed fiberglass may not fit exactly, and you will have to make it work. I marked the two lines at 90° on the canopy at every hole in the top rail of the frame. Then transferred them to the skirt as I went. I used a hole finder for the bottom rail, and templates for the holes in the ribs. I initially used a smaller bit to drill the holes in the fiberglass. That way, if I was off by just a little, the smaller bit would still be in the frame hole. Then I wiggled it around a little to center the hole in the fiberglass. Then when I went back with the #40 drill bit, I had a centered hole. My parts didn’t fit very well. The top and bottom lips of the canopy skirt would not both lay flat to the canopy and the side of the fuselage at the same time. Either the top was flush and the bottom stuck out, or the skirt fit well to the fuselage and poked out from the canopy. With the canopy propped 1/8” open, I started by trimming the aft ends of the fiberglass just to get the large amount of extra material out of the way so I could get a good fit. I realized I had a pretty good fit on the back of the canopy and fuselage and at the very front, forward of the first canopy frame rib. But the middle section didn’t fit well. So I cut lengthwise down the seam where the skirt bends from fitting the frame and fuselage to where it fits the canopy. You can see the white line in the above picture, just below the clecoes.
After all the parts were clecoed, I taped the ends of the pieces I had cut to the sides of the fuselage until everything was held in the proper place. Then I layed up one strip of fiberglass on the outside of the skirt across all of the cuts I had made. Some of the gaps were ¼” or more, but that didn’t matter, I just put the one strip of fiberglass. When it was dry, I carefully removed the skirt half from the frame and filled the backside of the cuts with resin and micro balloons and waited for that to set enough so that it wouldn’t run, but was still flexible. Then I clecoed and taped the entire thing back to frame and let it dry hard. I took it back off and trimmed away excess material on the inside. Then I added another layer of glass to the inside and the outside of the seams. I then marked where I wanted the top of the canopy skirt above the holes, and trimmed it to size. The canopy skirt was now pretty much set in position, and I trimmed the back of the bottom to final size.
I used wax paper against the fuselage to keep the fiberglass from sticking. I had to fill a few low spots along the canopy skirt to get it smooth. I also had a few spots across the top edge that needed finishing. Here is where the two layers of tape came in handy. I laid up fiberglass or just resin as required, then sanded. I was able to aggressively sand until I hit the first layer of tape. Then I switched to finer paper until I started wearing through the first layer. I swapped the top layer as I wore through, but never got to the second layer, keeping the Plexiglas pretty.
I made a form for the underside where it covers the rail by bending a piece of scrap aluminum into shape. You can see in the picture that it has a good shape, but I still have a little edge dressing to finalize. 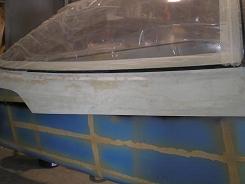 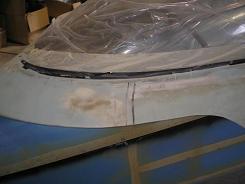
Return from Canopy Skirt to Finishing Kit or to Fiberglass Return from Canopy Skirt to Kit Plane Advice Home |
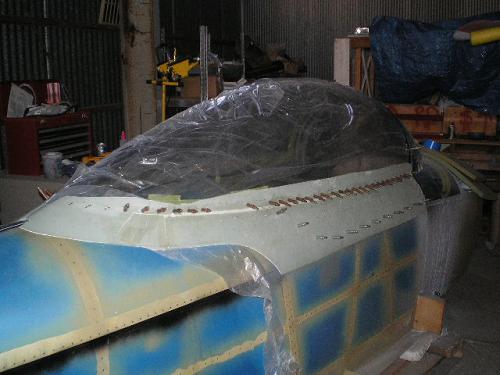
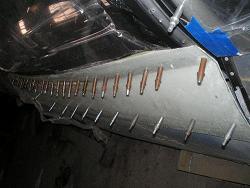 I
actually
started from the front of the canopy skirt,
drilling it
to the frame.
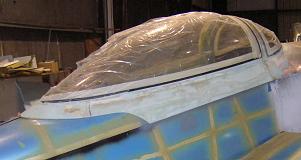 I
used a lot of electrical tape to mask things off.
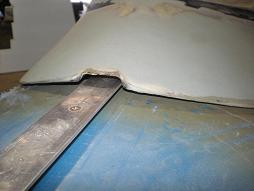 I
did the aft end of the skirt last, and it took a lot of
work.