

Aircraft BrakesI waited to install my aircraft brakes until very late in the building process. I didn’t want the lines and the rudder pedals to be in my way as I worked inside the fuselage. I had already completed the electrical system, the forward upper skin and baggage door, and the canopy. I did the brakes just before I jacked the plane up to install the main gear.
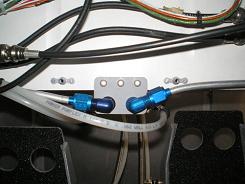 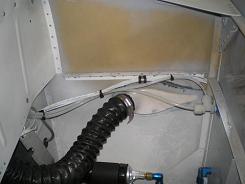
I figured out where the lines were to run before I cut them. Then once they were installed, I went back and clamped them all in place. This took a little effort. I wanted to ensure all the lines had proper standoff so they would not rub and wear. Because they were stiff, it was hard to get them to stay in the proper position while I tightened the clamps. I really needed three hands to do the job, but I managed by tightening the clamps enough to cause some drag on the lines. Then I pushed and pulled everything into position and the drag from the clamps held everything where I wanted it. Then I finished tightening. 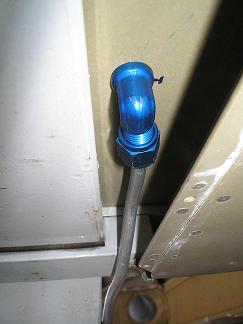
After
the main gear,
axles and wheels
were installed, I
finished the outside lines. I
started at
the top and worked down. The
tight fit
next to the main gear meant I needed to get the lines to just the right
shape,
while the 180°
bend at the bottom made final adjustment a lot easier.
I used some short pieces of rubber hose to
wrap the line at three spots on each side.
Then I duct taped the line to the main gear at
those spots. Finally
I made the bend at
the bottom, and cut
and flared the line.
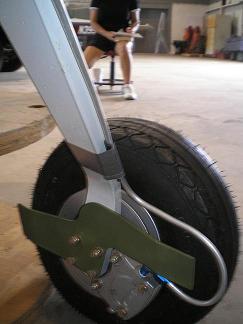 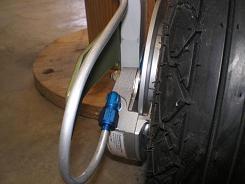 I will finish the brake system by filling and bleeding the lines just prior to testing. I don’t want to do it now just in case I will have to remove any of the parts to gain access for installing something else. Brake fluid is corrosive, and bleeding the brakes can be a messy and long process.
Return from Aircraft Brakes to Fuselage Return from Aircraft Brakes to Kit Plane Advice Home |
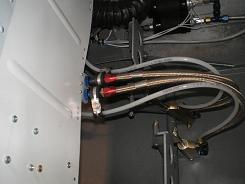 I started at the pedals
and worked my
way out from there,
 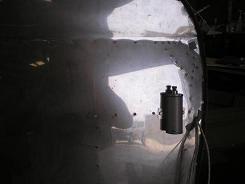 I moved the reservoir
over slightly
from where the plans
call for it.